Descending for a scuba diver means there is a system of rules. Correct conduct and procedures need to be followed in order to avoid or eliminate problems like equalizing your ears due to changing ambient pressures. It’s important to learn how to make a controlled scuba dive descent.
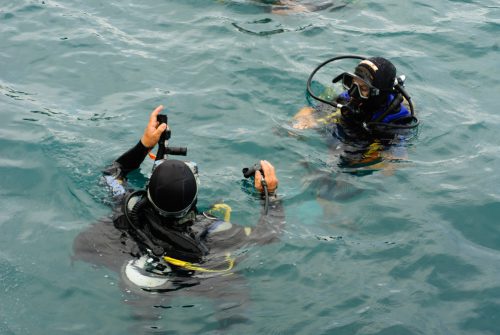
Most of the time you make your dive entrance into the water from a dive boat. With some air in your BCD (Buoyancy Control Device) you take a giant stride jump or a back roll into the water. Once you’re in the water, you give the ok signal to the boat crew. NOW THE FUN BEGINS…
I want you to have this great sinking experience and it begins with having the right amount of weight so I’ll show you how to do this and descend the right way. There’s an awesome video for you too.
Let’s begin!
CORRECT WEIGHT, CONTROLLED BUOYANCY

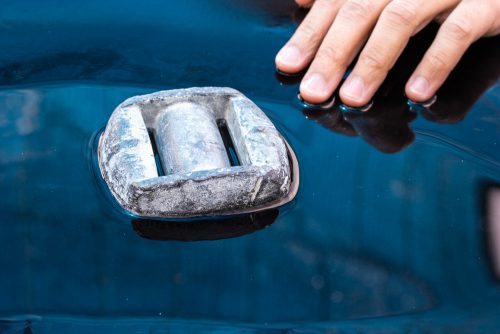
Controlled buoyancy is the key when you’re scuba diving and descending is no different. Many divers seem to be either overweight or too light. Being overweight can cause you to descend too quickly forcing you to add more air into your BCD. Being too light-weighted will mean not being able to stay down to the depth of your dive group which can cause potential problems when ascending and doing a safety stop.
It’s better to correct the number of weights you need BEFORE you descend. This is a simple procedure to do in shallow water or in the pool.
1) The regulator in your mouth. Put the regulator in your mouth and inhale normally at the surface.
2) Hold your breath. Release all the air out of your BCD using the dump valve or pushing the BCD delator button. It’s ok to hold your breath here because you’re at the surface of the water.
3) Float at eye level. If you are properly weighted you should be floating at eye level holding a normal breath
4) Release your air slowly, Make sure you slowly breathe out. This will make you sink slowly. Remember feet first… vertical body position. There is no need to kick with your fins and no arms flailing. Adjust your weights accordingly.
The point is to not sink fast as it will cause you great pain or injury in your ears.
5) Some divers prefer to carry 2 to 3 extra pounds of weight .9/1.5 kg. Near the end of a dive, the air in your tank is less because of your consumption, making you a little lighter as you start your slow ascent to do your safety stop near the 15’/5m point.
Great! Now that you have the correct amount of weights, you are now ready to prepare to descend.
1) Prepare to descend

At this point, you are already in the water, at the surface.
- Signal to make sure you’re ok with your dive buddy. Your buddy acknowledges the same.
- Orientate yourself at the surface and below.
- Switch your snorkel to your regulator.
- Check your time.
- Prepare to equalize your ears.
- Check to see if your dive buddy is ready to descend. Use your hand signal to descend and get the acknowledgment back.
- Using your left hand raise your BCD inflator/deflator button over your head. Equalize your ears.
- Deflate
Slow Controlled Descent, Happy Ears
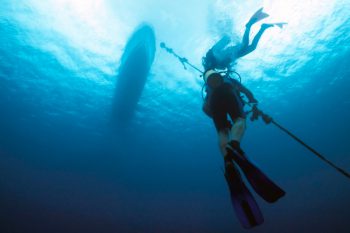
If you’re a new diver and want a more controlled descent, oftentimes a dive boat will have a line at the stern which you and your buddy can surface swim to this dive shot line. The shot is the weight and it’s attached to the line which is attached to a buoy. Holding onto this will give you stability as you slowly descend.
The line is also excellent to do your safety stop during your ascent.
GOAL – A SLOW DESCENT WHILE EQUALIZING YOUR EARS!
1) Begin your slow descent. There are 2 ways you can start releasing the air in your BCD. The first is to depress the deflate button which you are still holding above your head with your left hand, the second method is to vent by using the dump valve with your right hand.
My preferred method is to depress the deflate button because that’s the way I was taught years ago AND I can also inflate if I do go down too quickly which would cause immense pain in my ears.
2) Exhale fully. This will initiate the process of descending because you won’t have any air in your lungs so you won’t be buoyant.
3) Breath deeply, continuously and slowly.
4) Equalize your ears early. To release the pressure inside your ears, begin the equalization process at about every 2 feet until you’re down to about 15’/4.5m. If the pressure remains, signal to your buddy that you are experiencing pain in your ears. Slowly ascend a couple of feet and keep equalizing until the pressure is released, then continue to slowly descend to your desired depth.
5) Give the Ok signal to your buddy that you are fine.
That’s it. Now you can be in a neutral buoyancy position and enjoy your dives watching all the underwater fauna life.
Are you ready to give this a try? You might already know all this but this is an excellent refresher in case you’re not a frequent diver.
Did you know PADI also has an online PADI Travel service? They are the largest in the world giving you a one-stop water experience. Dive and snorkel from liveaboards at remote locations or small boats with dive resorts/dive centers. Finally, you can get all the dive information on destinations all over the world. Book your dive courses, do your research on dive centers/resorts, dive conditions, and best times to go.
==>> Click HERE to get more information on PADI Travel
Thanks for reading and if you have any stories you would like to share on your experiences of descending or have any questions or comments, it would be awesome to hear from you.
If you have already booked your underwater vacation with PADI Travel, I would like your feedback here,
